
I know there are a lot of flower tutorials out there, but flowers are big and why not one more, right? You can make it a hair clip or a pin just by which you attach to the back. Today I'm making a hair clip.

You need: fabric (three or four coordinating prints), a scrap of felt, scissors, a button or covered button kit, a needle and thread, an alligator clip or pin back, glue gun or fabric glue, and about 1/8 yard of fusible fleece. You can find fusible fleece in the sewing department by the interfacing, in notions, or just ask at the cutting counter. The fusible fleece will give the fabric some body and prevent it from fraying, although frayed flowers are pretty too.
 Cut various sized squares of fabric, I used four. (The scrap that isn't a square is what I used to cover my button. Follow the directions on the back of the covered button kit. Beware, covered buttons can be addictive.)
 Cut pieces of fusible fleece to match the squares. My largest square was 4" (about 10 cm).
  Following the directions that came with the fusible fleece, iron fleece to the back of the fabric.
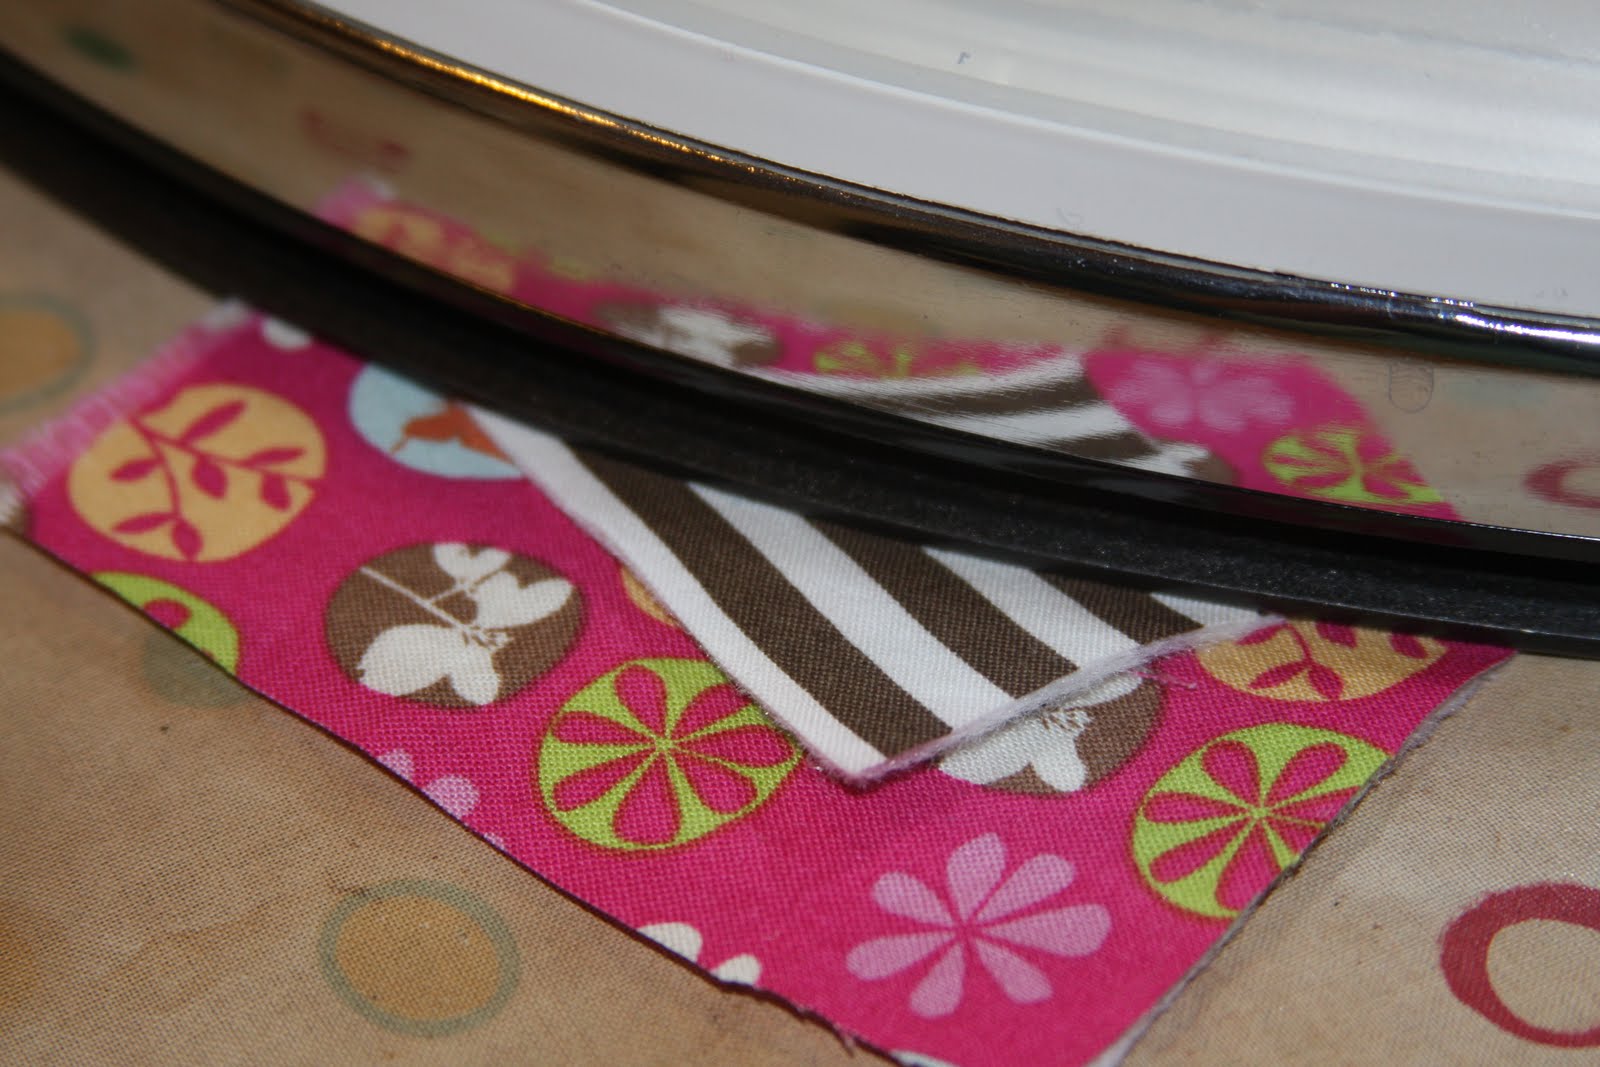
Fold each square into fourths and round the open corner like an ice cream cone. When you open it up it should be shaped like a four petaled flower or a clover. If not, just refold and cut some more, but remember, flowers aren't perfectly symmetric.

Cut out two circles, one smaller than the other.

Now layer your flower shapes, turning and arranging so that a little of each shows, with the circles in the center as shown.

Cut a circle from the felt for the back (you don't have to have it, I just like a nice surface for gluing the clip or pin.) Place the felt circle in the center back and the button on the front and sew from front to back, through all layers, attaching the button.

You could call it good at this point, but to give the flower some dimension, bring your needle up underneath one layer and take it back under the one below, pulling the thread between the petals just slightly to make them stand up a bit.

Here you can see I came from below and took the needle under the layer above to pull the petal upright. You only have to do this in a few places to get the petals to pucker. Knot your thread between two layers and cut the thread.

I did this on the opposite sides of the three middle layers, but you can see what a nice effect it gives.

Glue your clip to the back of the flower on the felt circle and your ready to wear your flower.

Don't you feel pretty?


3 comments:
Very cute and great tutorial! I love making different types of flowers for my nieces and daughter.
A tutorial easy enough for crafting-impaired people like me to follow. Many Thanks! Any chance of following up with silk flower clip tutorials? Possible with the crocheted stretchy bands?
I'll have to look into that and get back to you.
Post a Comment