I love to decorate for Halloween. Something about the blood and cobwebs that just
speaks to me...
Back before I had kids I thought it was a really great idea to buy highly breakable Halloween decorations: spooky votive holders, ceramic jack-o-lanterns, even a glass cookie platter. It didn't take long (Um, baby numero uno's first Halloween) to realize the error of my ways. He is a boy. A dirty, destructive, always into something boy. You might ask, "How do you deal?" I'll tell you.
Paper.
Easy huh?! Let me elaborate. I love free templates for the following reasons:
-They are FREE.
-They are easy to obtain. Click print. Boom. You're in business.
-My kids can help.
-I don't turn into the Incredible Hulk (although it is slightly appropriate being Halloween and all) when the paper decorations get played with "too hard."
Here are some fabulously freaky finds to help you save your money (and maybe a little sanity) this Halloween...but do me a favor, will ya? Take your savings and splurge a little on your candy this year. Peanut Butter Taffy should not even exist.
Check out Country Living for
these, among others:
And
Martha, duh. Would anyone else use the word, "unsavory" to describe paper mice? Nope. Describe them how you want, I choose
awesome.
And click over to Matthew Mead for
these. Be sure to browse around the site fore some other, non-template, ideas!
By now you probably have a list a mile long of ways to use these templates (share them please!) but first, let me tell you how we spook out our house!
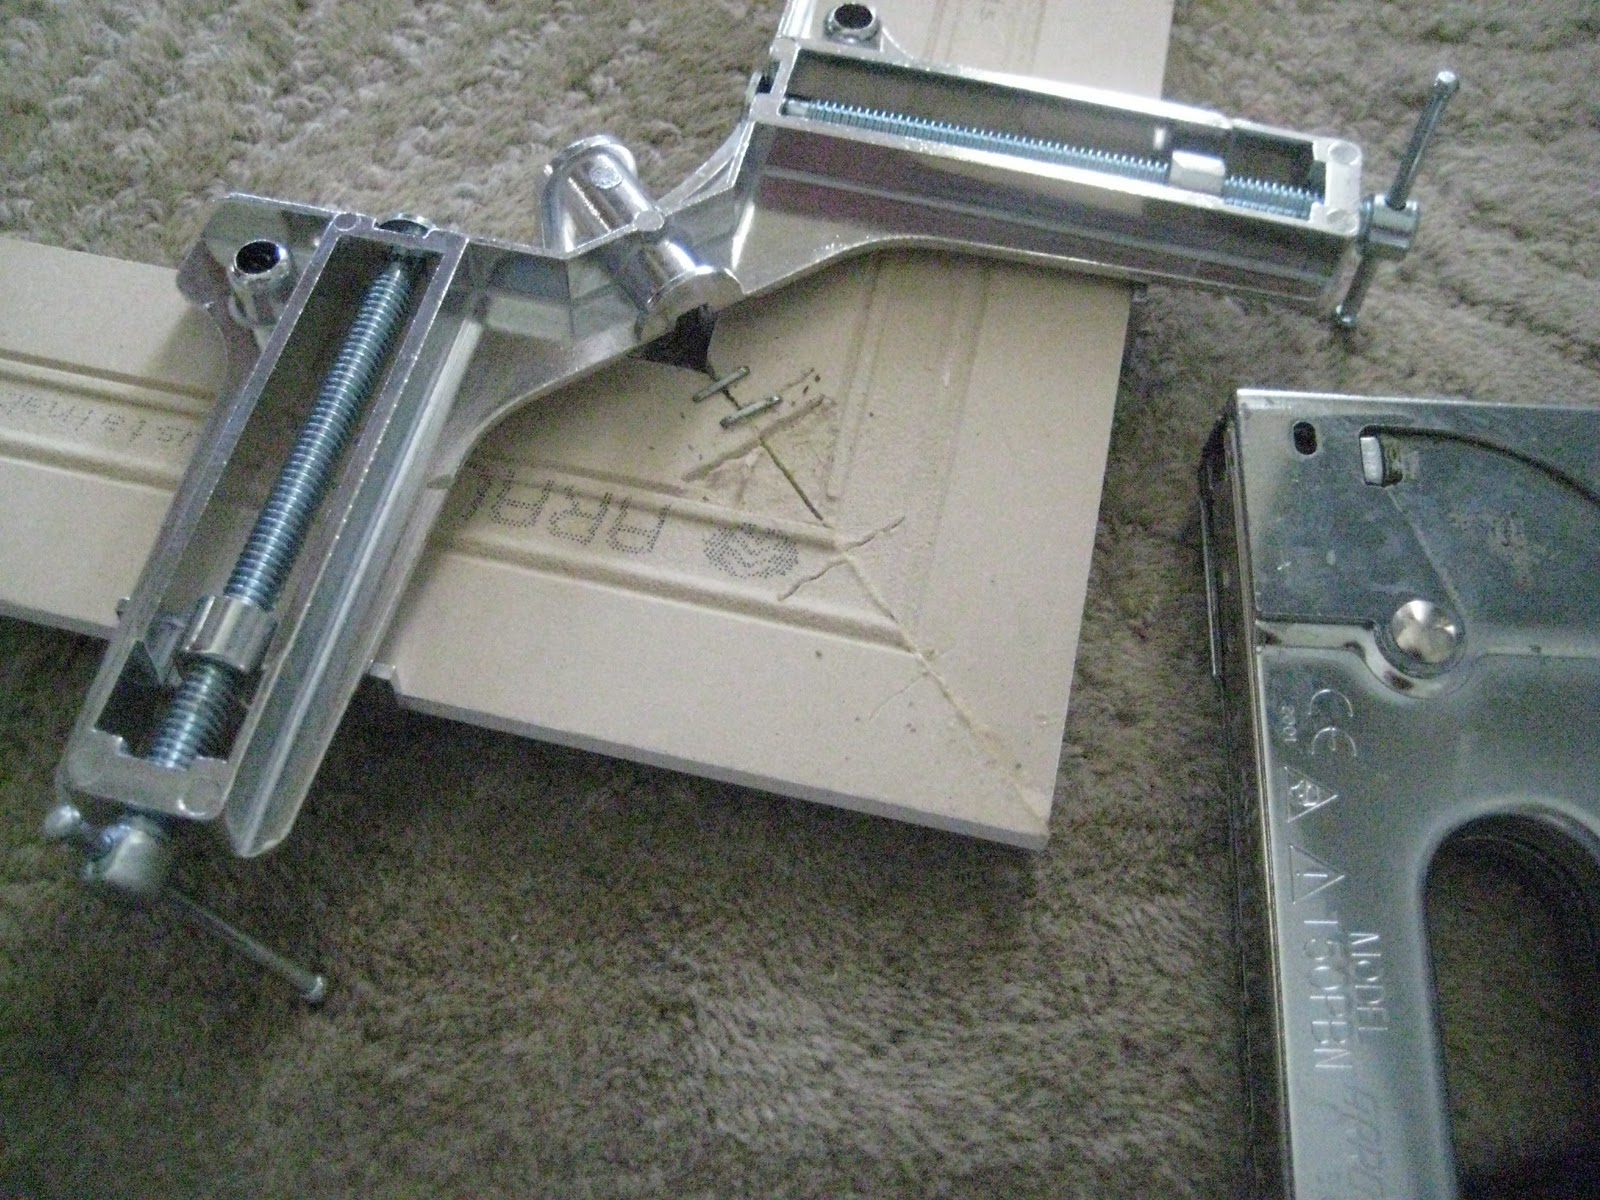
-Place a dark colored creature on white paper and frame it.
-Partially cover our family photos with tiny little creepers.
-Dangle them from the ceilings.
-Attach them to mirrors.
-Put large black cutouts in windows.
-Tape them anywhere my kids deem worthy, including the carpet :)
Happy Halloween Decorating!
0.jpg)


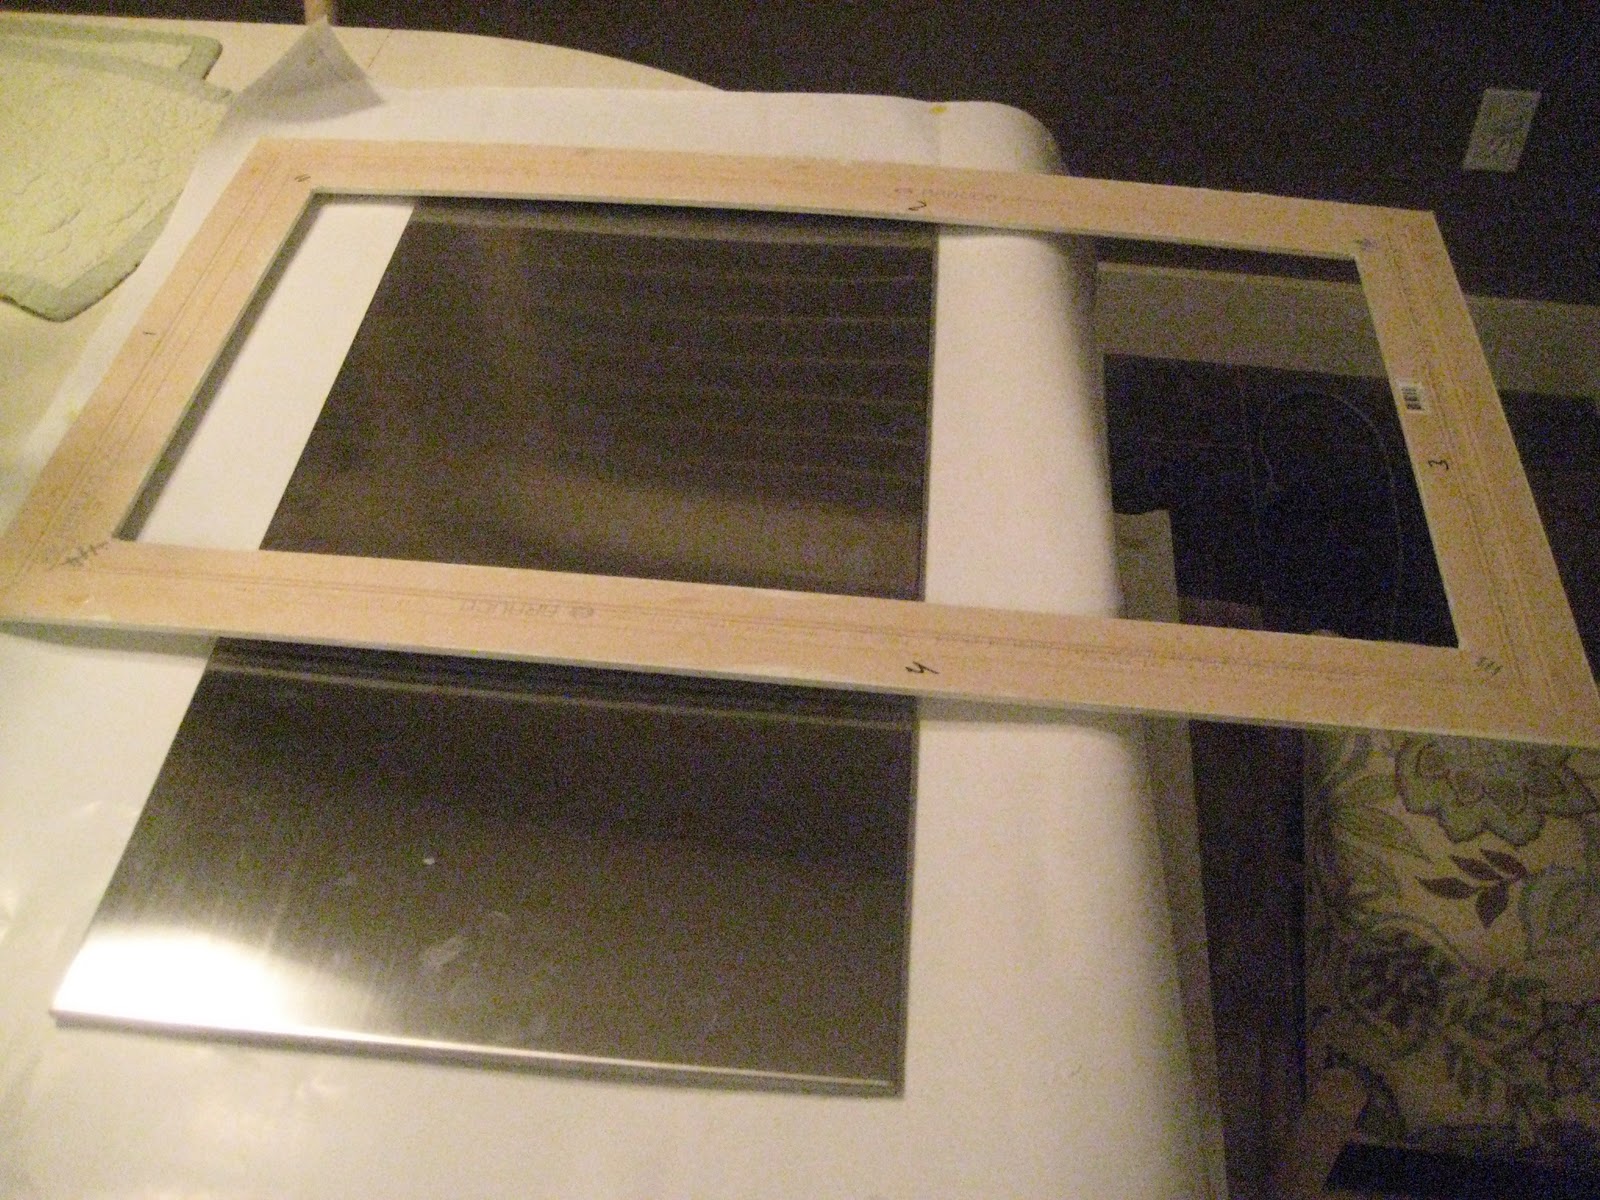
 Every time I go into a fabric store I end up finding a piece of fabric I love. However, I never buy it because I know I will never get around to making something with it. The other day I found this darling fabric that I thought would be perfect for my playroom (perhaps a cute pillow, maybe some drapes). Just as I was putting the fabric back, while lamenting my lack of time and lack of sewing skills, I had an epiphany. Put it in a frame and hang it on the wall. That way I can still enjoy the beautiful fabric with no sewing required. A very complex idea indeed. There is no way anyone else has ever thought of this idea also, Nate Berkus included. (insert sarcasm here)